How To Hang A Picture Frame On A Wall

Learning how to hang a picture frame can be a walk in the park, with the right guidance.
Whether you’re looking to hang a photograph of your most cherished memories or looking to expand your wall art, this step-by-step guide will teach you how to hang a photo frame on a wall like an expert!
Before we dive into this guide, there are some key items you’ll need for hanging a picture frame:
- Your picture frame
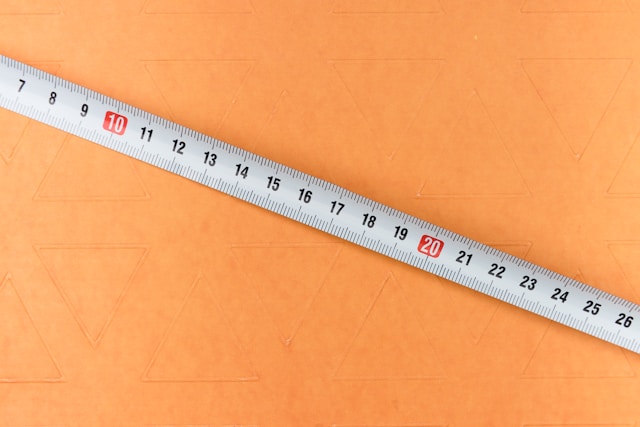
- A tape measure
- A hammer
- A pencil
- Screws or nails
- A spirit level
- A drill (optional)
How To Hang A Picture Frame: Our Step-By-Step Guide
1. Determine Where You Want To Hang Your Photo Frame

There are a couple of things you need to figure out before hanging your frame. First, you’ll want to find the ideal height for your picture frame.
Best practice, when hanging a picture frame, is to have the centre of the frame sitting comfortably at eye level.
Once you’ve determined what height your frame should hang, you’ll need to know what sort of wall you’ll be working with. Different walls will need different fixings and can support different weights.
How to hang a picture frame on a brick wall
If you’re looking for a more secure option to hang larger picture frames, mansory, brick and block walls are the perfect wall choice. They can support up to 10kgs in weight, this number increases when appropriate fixings and wall plugs are used.
How to hang a picture on plasterboard
Due to the weaker properties of plasterboard; this type of wall isn’t suitable for heavier poster frames. Plasterboard can hold a maximum of 5kg.
2. Ensure There Are No Hazards
When hanging your photo frame you might be surprised how many potential hazards can cause harm if they are not considered.
The most important is power supply cables.
Never drill (or hammer a nail) directly above or below plug sockets or light fittings. This is likely where power supply cables will be and drilling into this can lead to a nasty shock!
3. Mark The Top Of Your Picture Frame

Next, you’ll want to hold your photo frame (at the ideal height) against the wall. Mark a line where the top of your picture frame touches the wall with a pencil.
After marking this line, you’ll want to place your picture frame face down on a flat surface. Then you’ll need to measure from the top of the frame to the hanging hook.
To transfer this measurement onto the wall, place the start of the measuring tap on the first mark you made and measure down. Mark this second measurement with a pencil.
What if I have a cord hangar?
Some picture frames have cord hangars, in that case, hook your tape measure onto the cord and pull up towards the top of the frame (to remove the slack).
Where the slack has been pulled out of the cord, is the measurement you want to write down (from the top of the cord to the top of the frame).
4. Preparing Your Fixings
Using either screws or the nails from the wall hooks, use your hammer to tap these into the wall where the second pencil mark is located.
Looking for more stability? Use a drill! (this is an optional step)
Check your packet of screws and wall plugs to determine the size of the drill bit needed. Then, using the hammer action, drill a hole as straight as possible into your wall.
Next, you’ll want to install your wall plugs into your newly drilled hole, take your hammer and gently tap the wall plug into the hole. Wall plugs are a great way to improve the fixing and increase your hanging frame stability.
Quick Tip: If you notice that your wall plug starts to bend when tapping away with your hammer, the drilled hole might be too tight. Remove the wall plug and slowly make the hole bigger using your drill and drill bit.
Lastly, you’ll need to fix the screw into the wall plug using your drill and screws.
5. Hanging Your Picture Frame

The final step in this guide; hanging your photo frame. Simply rest the cord or the hanger on the back of your frame, on the screw or wall hook you’ve just fixed.
You’ll want to use your spirit level at this point to make sure your photo frame is sitting level and not crooked.
Now it’s time to admire your handy work, with your newly hung picture frame!
Discover Our Range Of Photo Frames UK
If you’re in the market for high-quality picture frames, then you’ve come to the right place! We’re proud to offer a wide range of hanging picture frames and free-standing photo frames to enhance your wall decor!
Browse our range of frames today!
Frequently Asked Questions
With heavier picture frames, it is important to suspend from two points in the wall to strengthen the fixing. Start from step 3 as above, then measure two equally distanced points on either side of the central mark. The secondary marks should be distanced either one-third or two-thirds of the length of your frame. Follow the remaining steps, making sure to drill your holes at the secondary marks instead of the central mark.
Much like the above steps, a large photo frame will need to be suspended from two fixings to be secure and stable.
Sometimes drilling holes in the wall is not an option, whether you live in a rental property or don’t have access to a drill; you can still hang your photos on a wall without drilling or using nails. A perfect substitute for nails is 3M’s command strips, these can stick to the walls and can be removed without any damage.
Command strips are available in multiple sizes and can suspend pictures and photos weighing up to 7.2kgs.
First, you’ll want to attach one side of the command strip to your frame and stick the other side to the wall, place a command strip at each corner of your frame, now you can hang your frame by pushing the opposite sides together should allow the strips to lock together for an easily removable hanging experience.
